We’ve now heard that invitations have reached as far as Iowa and Florida. This thing is getting real, people!
Monthly Archives: July 2012
Thank you, United States Postal Service
We hear that some of you received your invitations today. Hooray! OK, so far, “some of you” live exclusively in Cohasset (hi, deLimas and Hendersons!), but we are happy to know that the USPS is doing its thing.
Invitations – scroll down for video!
Well, I just mailed the invitations. Yay! This is Kate, by the way.
We set aside all of this past weekend for invitation making, and I have to say that the process actually took less time than I expected. What a nice surprise!
To back up for a moment: we spent a fair amount of last weekend (July 7-8) on the invitation: choosing our supplies, designing our layout, and generating one clean sample. We had already decided on the general size (6″ x 6″), and looked on Amazon for envelopes. In general, we were trying for a vibe that would be consistent with what we hope the wedding itself will be like: warm, informal but unusual, a little rustic, a little whimsical, with an overall sense of do-it-yourself-ness. We both really liked the square envelopes made of paper bag material, and when we found them in the right size (6.5″ x 6.5″), we were delighted and went ahead and bought them.
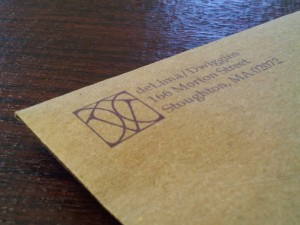
So last weekend, we tried using our home printer to print a sample envelope. Since the general colors of the wedding are medium to dark blues and purples combined with burlap-ish neutrals and, of course, white, we settled on a plum color for the printing, with bold font to make sure the main address was legible. Then, we incorporated our logo in the return address area, because we love our logo and plan to use it everywhere.
By last weekend, we already knew that we were going to try to hand-print the logo as the main component of our invitation. Dave was inspired by our logo design team (Jonathan deLima, Siobhan Spain, and Molly Spain), who had already made us an image of the logo using an actual stamp that they ordered. We really liked the rustic quality of the image, so Dave figured he would just, you know, research linoleum block printing and teach himself how to do it. So first he used a softer material that was easier to carve than traditional linoleum — it kind of made a big rubber stamp. He made some good prints with that, but became determined to try using an actual linoleum block.
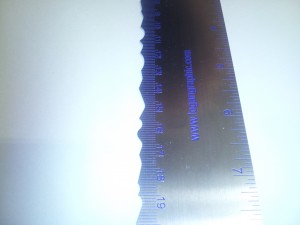
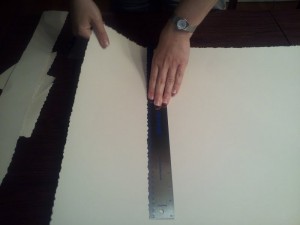
Next, we bought a few kinds of paper at the Blick art supply store. We wanted something substantial in a neutral but not white color (white was too stark) that would take the print ink well. As we shopped, we discovered that liked the idea of unfinished edges for our prints — straight edges looked a bit too polished (and a little boring) for what we had in mind. So we asked the very helpful Blick employees, who helped us find this cool ruler:
See? You use that jagged edge to rip your paper. They call it a “deckle” edge, by the way. After some experimenting with the tearing and the printing, we settled on a nice thick printing paper.
We then focused on designing the text and layout of the invitation itself. I liked the idea of using twine to attach the print to the invitation sheet (again with the neutrals and the rustic), and we found that punching a couple of holes made it possible to use the twine to secure the two sheets back-to-back. That way, we didn’t even have to mess (literally) with spray adhesive. And we liked that fact that the twine could tie in (so to speak) with our text if we used “tie the knot” in the invitation!
I didn’t love the large standard holes though — so I bought a smaller-hole punch at the Paper Store. This one is almost exactly like the one I bought.
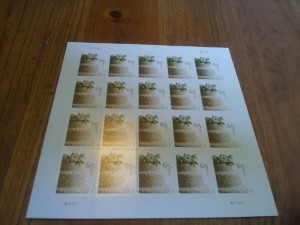
By the end of last weekend, we had a sample envelope, invitation, and fake insert (we knew we wanted to do an insert with event and hotel details, but we hadn’t figured that part out yet). I then took the sample (with a stand-in insert for weight) to the post office to investigate postage. Imagine my happiness when the 65-cent stamp we needed came in a wedding-cake image! Done.
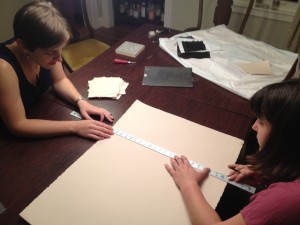
So this weekend was all about actually making the invitations. First, we printed the invitation sheets on our home printer and had them cut to size at Staples. Next, we had to tear the giant sheets of printing paper. Many thanks to Alison Cody, who was visiting and who was a good-humored and expert paper tearer:
While Alison and I worked on the paper,
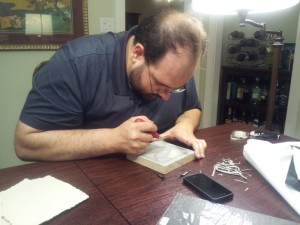
Dave was carefully carving the linoleum block:
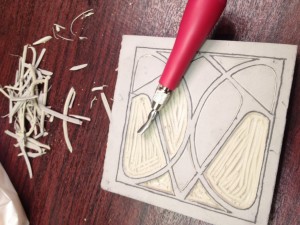
This is the block partly carved:
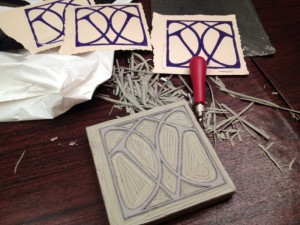
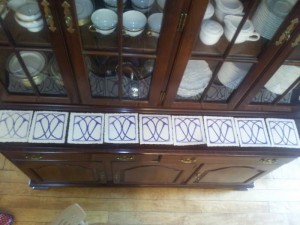
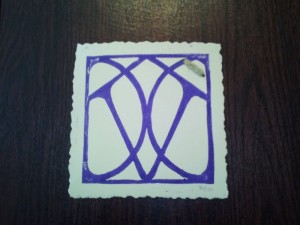
And here it is all carved, with some trial prints:
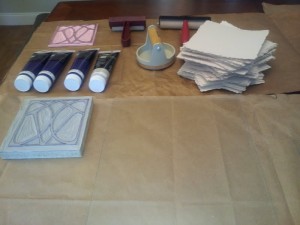
The next day (Saturday), Dave and I were determined to do all the printing. And we did! First we gathered all the supplies:
We laid everything out on brown paper bags, cut open (we didn’t have any newspaper). The pink thing in the upper left is the speedy-carve block Dave used for the early prints. Next to it is a couple of brayers, which we used to ink the block. Below those is the thing we used to press the paper evenly onto the block. According to the box, it’s called a baren. Next to that is the paper ready for printing. Below the pink thing is the block printing ink we used in Violet plus some retarder to prevent it from drying out too quickly. Below that is the actual linoleum block, plus a glass surface that we used for inking.
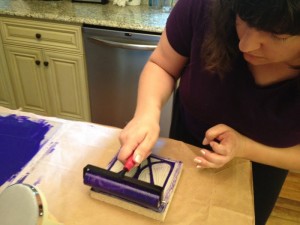
So, here I am inking the block with the brayer:
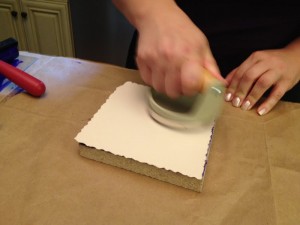
And then pressing the paper on the block with the baren:
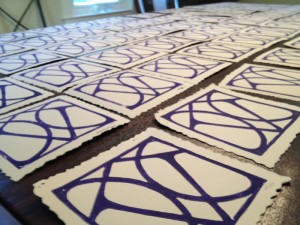
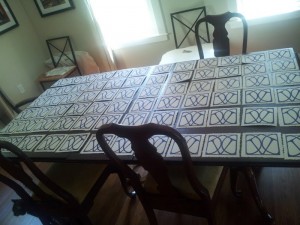
Once we peeled the paper off, we got lots . . .
and lots . . .
and lots . . .
of prints. We really like how they’re all the same but different!
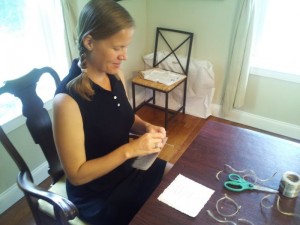
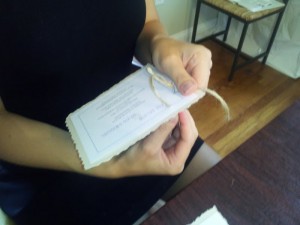
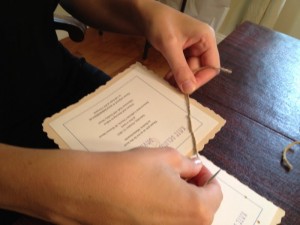
We let them dry overnight. Then, Sunday, we assembled. For each invitation, we held the print and the invitation text sheet back to back to center the latter on the former, more or less. Then, we punched two holes and used a big sewing (tapestry?) needle to sew the two sides together. Many thanks to Jessie Zuberek for all her help! Here she is, sewing:
and about to tie a knot:
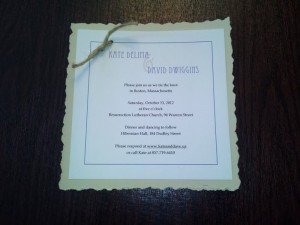
The invitation ended up looking like this:
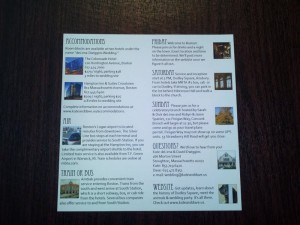
Meanwhile, Dave was working on the insert. Of course all the important wedding info is here on the website, but we wanted to include some of the practical highlights in printed form as well. We decided on an additional 6″ x 6″ sheet that we would fold around the invitation in order to make sure it didn’t get left behind in the envelope. Here’s what we ended up with:
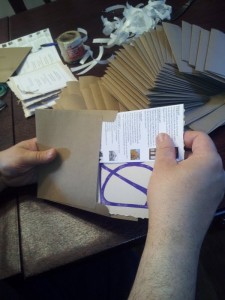
Once the inserts were printed (again, on our home printer) and cut at Staples, we folded them around the invitations and put them in the envelopes.
They went in the mail this morning!
Here’s a great video that Dave made (on his phone, if you can believe it):
Logo Thanks
Huge thanks to project manager Jonathan deLima and designer sisters Siobhan and Molly Spain for generating our fabulous logo! We love it!
